Most homeowners have one question about installation day: what is my house going to look like for the next 8 hours, and when will I have heat or AC again? This article covers the actual sequence of events, not the sales version.
The timeline below comes from 12,000+ installations we've done across the Denver metro. Heat pump installs are more involved than a straight furnace swap because you're replacing two systems at once - heating and cooling. Most are done in one day. A small percentage run into day two, usually due to electrical upgrades or difficult line set routing.
What happens before the crew arrives
The day before your install, your equipment is loaded and staged at our warehouse in Evans or Centennial. Components go through a first QC check - we look for shipping damage, verify model numbers, and confirm every part matches the job specs. Techs and helpers are assigned 1-2 weeks in advance so everyone knows the job before arriving.
The crew starts their day at the warehouse around 7 AM with a job briefing. Any missing parts or last-minute adjustments happen here before they head to your home. You receive a notification when the crew is on the way.
Before install day, we have already run a Manual J load calculation for your home. This calculation uses your home's measurements, insulation levels, window area, and Denver-area climate data to determine exactly what size system you need. The equipment being staged is already sized to the result of that calculation.
Installation day timeline
Crew typically arrives between 7:30 and 9 AM depending on drive time. Here's the general sequence:
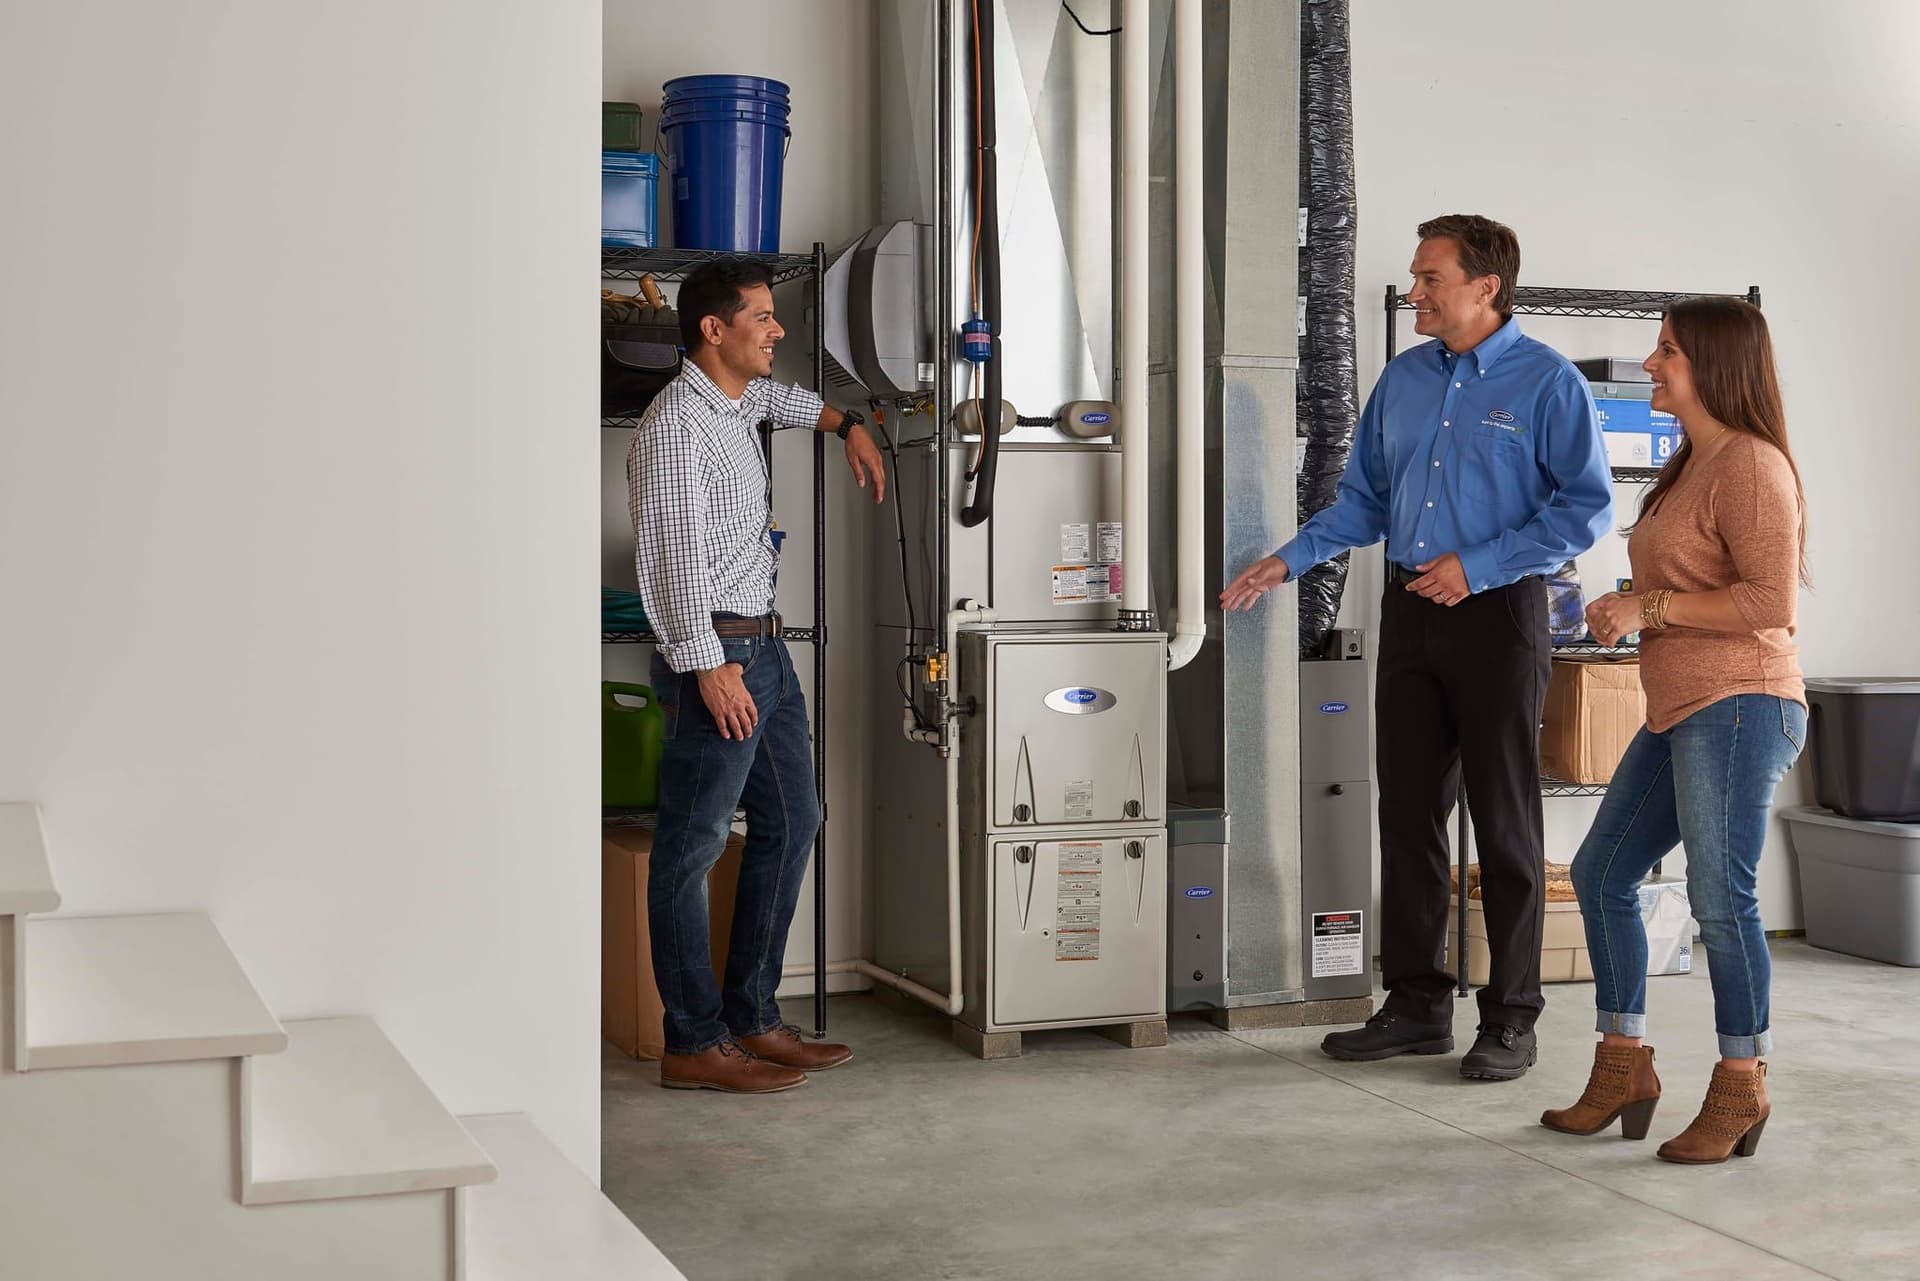
- Homeowner walkthrough (15-30 minutes). Before any tools come out, the lead tech walks through the job with you. For a standard ducted heat pump replacement, this covers where the outdoor unit goes, any access concerns (gate codes, pet logistics), and whether you have questions from the estimate. For mini-splits, the walkthrough is longer because indoor unit placement matters and affects line set routing.
- Prep and protection (15-30 minutes). Tarps are laid down in the work areas. The old system gets tagged off and any areas needing protection are covered.
- On-site component QC (15-20 minutes). Components get a second inspection on-site before anything is opened up. This catches anything missed at the warehouse - correct model numbers, no shipping damage from the ride over.
- Old system removal (1-2 hours). Outdoor unit, indoor coil or air handler, refrigerant, and any outdated components are removed. The line set is inspected at this stage - if it's corroded, undersized for the new system, or damaged, it gets replaced rather than reused.
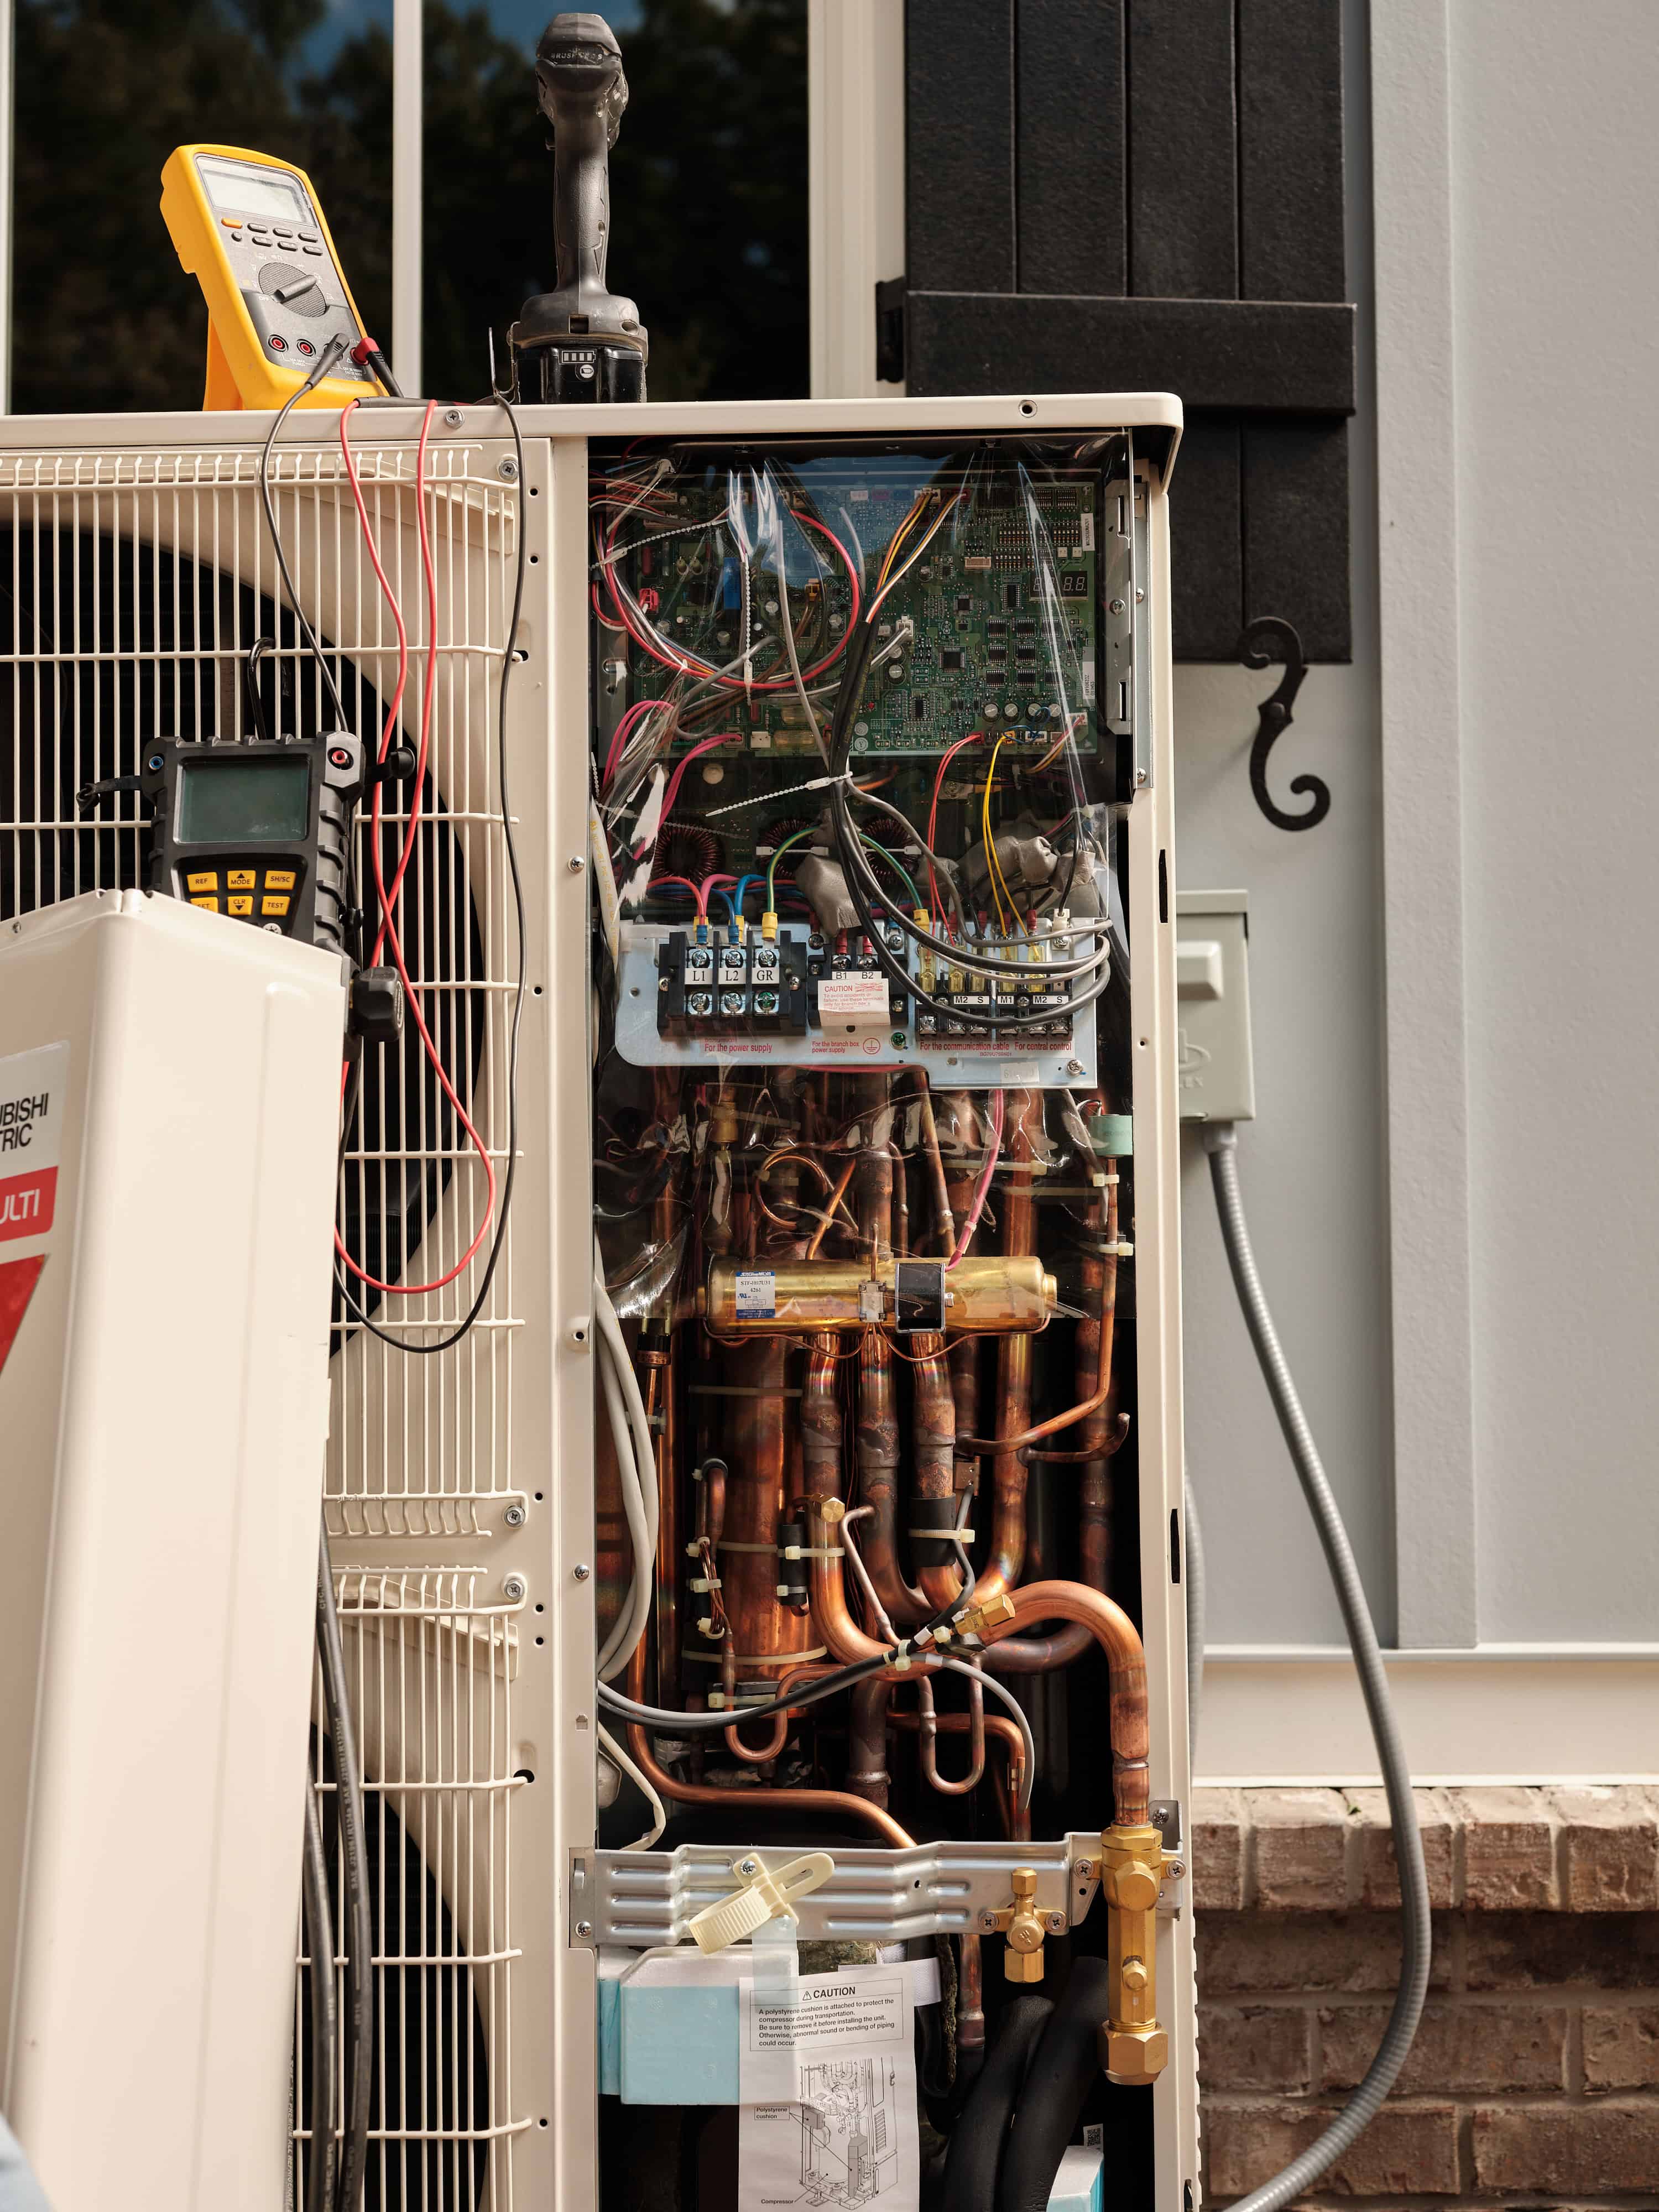
- Installation (3-5 hours). New outdoor unit is set and leveled. Indoor air handler or coil is installed. Refrigerant line set is run (or connected if reusing the existing one). Electrical is connected - the outdoor unit needs a dedicated 240V circuit, typically 30-50A depending on the system. Flashing and weatherproofing is completed on exterior penetrations.
- System commissioning (45 minutes to 3 hours). Covered in detail below. This is the longest variable in the day.
- Handover (30 minutes to 2 hours). All modes are tested with you present. Thermostat is programmed. Rebate paperwork is completed. The crew answers whatever questions you have about operating the system.
Total day: 8-10 hours for a standard ducted heat pump replacement. Ductless mini-split installs (1-3 zones) run 6-8 hours. Multi-zone mini-splits with 4+ indoor units can extend to a second day.
Noise, HVAC downtime, and disruption
Here's what to expect during the work:
Noise level. Moderate to loud during removal and installation. Drilling through walls or floors for line sets and electrical is the loudest part - similar to a contractor doing home renovation. Commissioning is quieter; the system runs at various speeds while the tech takes measurements.
HVAC downtime. Your heating and cooling is off from when the old system comes out until commissioning is complete - usually 5-7 hours. In summer, plan for your home to warm up. In winter, the home stays reasonably comfortable for the first few hours but will cool down. Extreme weather days (single digits or 100°F+) are uncomfortable but manageable. We schedule accordingly and don't leave jobs mid-day in extreme conditions.
Dust. Some. Cutting into walls or ceilings for line sets and electrical creates dust. Crew uses drop cloths, but this is construction work, not a clean room. Plan to vacuum the work area after the crew leaves.
Parking. The crew needs at least one vehicle space in the driveway or directly in front of your home. For larger jobs with multiple vehicles, communicate any restrictions in advance.
Home access. The crew needs access to the electrical panel, the indoor unit location (usually a utility room or basement), and the outdoor unit location. If there are locked gates or difficult access points, communicate this before install day.
Decisions you make before and during
Most decisions are made during the estimate, not on install day. But there are a few that come up:
Before install day:
- Equipment selection (handled at estimate)
- Outdoor unit placement - standard location vs. side yard vs. back
- Thermostat model - we install what comes with the system or upgrade to a compatible smart thermostat
- Whether to replace the line set (we recommend replacing if over 15 years old, corroded, or if the new system requires a larger diameter)
- Electrical panel capacity - if your panel is full or under 200A, a panel upgrade or subpanel may be required
During installation:
- Line set routing - if the planned route has an unexpected obstruction, the crew confirms the alternate route with you before proceeding
- Indoor unit placement adjustments (most relevant for mini-splits)
- If something unexpected is found (corroded refrigerant lines, damaged electrical, undersized ductwork), the crew stops and explains before proceeding
What commissioning actually means
Commissioning is the verification phase after physical installation is complete. It's the longest variable in the day - 45 minutes for a simple replacement with clean existing infrastructure, up to 3 hours for a complex system or one with ductwork issues.
Here's what the technician verifies during commissioning:
- Airflow (CFM). Measured across all supply registers and returns. For a heat pump to heat efficiently, airflow needs to match the system's design specs. Restricted airflow causes short cycling and premature compressor wear.
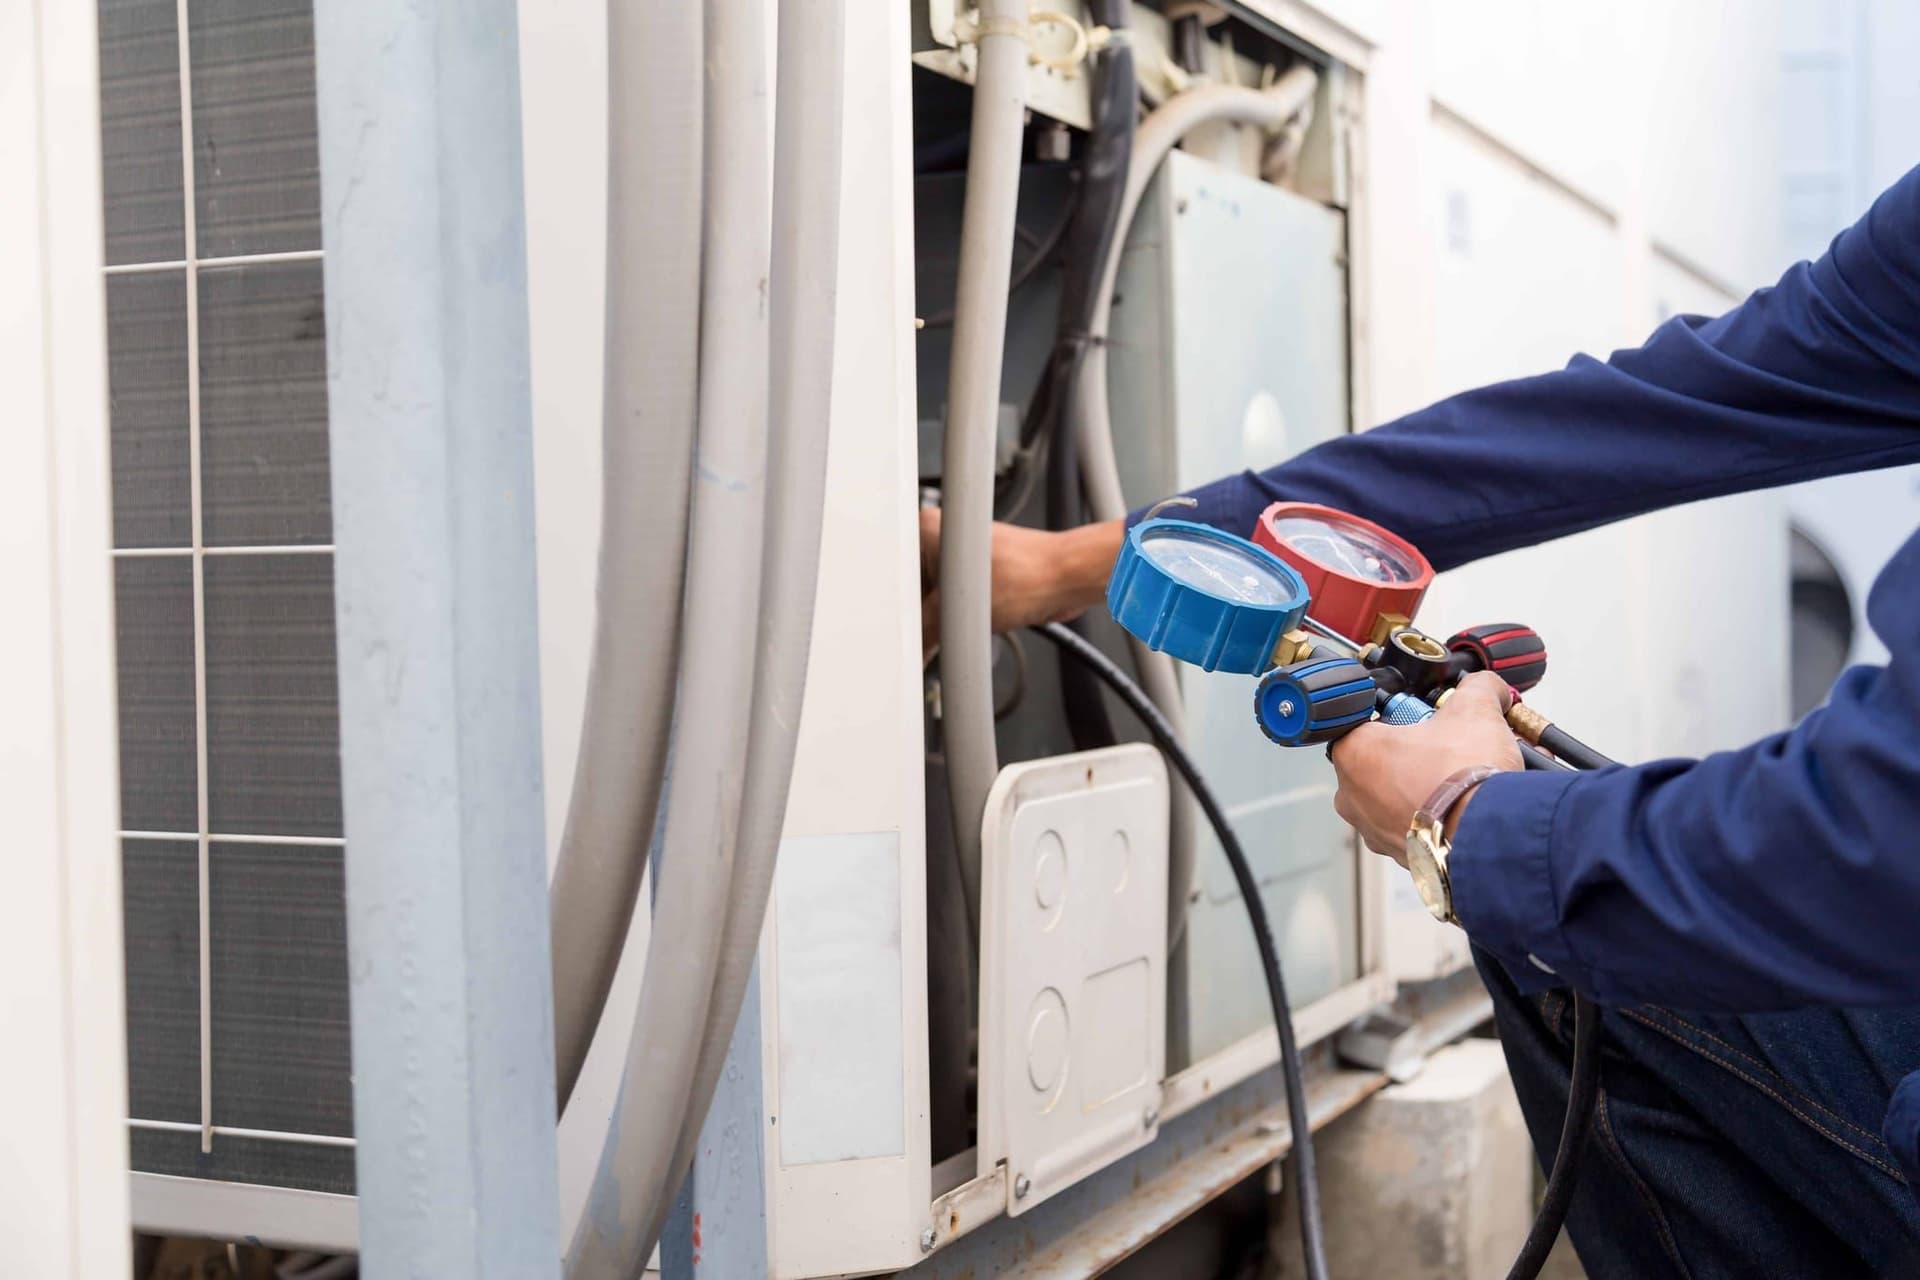
- Refrigerant charge. Verified against manufacturer specs using gauges and temperature measurements. An overcharged or undercharged system runs inefficiently and can damage the compressor over time.
- Static pressure. Duct system pressure drop is measured to confirm it's within design limits. High static pressure means the blower is working harder than it should, which wastes energy and increases wear.
- Temperature delta. Supply air vs. return air temperature difference is verified in both heating and cooling modes.
- Noise levels. Indoor and outdoor unit checked at operating speed. Vibration or rattle is addressed before handover.
- Thermostat programming. Schedules, switchover points (for dual fuel systems), emergency heat settings, and all operating modes are configured.
For cold climate heat pumps, we also verify operation in heating mode down to lower temperatures. The system's behavior during defrost cycles is checked - a properly functioning defrost cycle runs for 5-15 minutes and is normal operation, not a fault.
Common surprises and how they're handled
Most installs go as planned. Here are the situations that come up most often and how they're resolved:
Electrical panel at capacity. If the panel doesn't have two free breaker spaces for the heat pump's 240V circuit, options are: relocating an existing breaker, installing a tandem breaker if the panel supports it, or a subpanel. We assess during the estimate, but occasionally a panel is fuller than expected. This is discussed before install day begins, not mid-installation.
Line set needs replacement. The copper refrigerant line running between the indoor and outdoor units sometimes can't be reused - wrong diameter for the new system, or corroded fittings. A standard line set replacement adds 1-2 hours. If routing through walls is required, add more.
Ductwork issues. If ducts are significantly undersized or leaking badly, airflow measurements during commissioning won't meet spec. We flag this and quote duct modifications separately - we don't adjust the refrigerant charge to compensate for an airflow problem.
Outdoor unit placement obstacles. Buried utility lines, uneven ground, or HOA restrictions occasionally require plan changes. We use 811 call-before-you-dig service when needed and confirm alternate placements before proceeding.
Shipping damage discovered on-site. If equipment inspection reveals damage that wasn't caught at the warehouse, we stop, document, and call for a replacement. This is rare (second QC check usually catches it) but does happen. In that case, the installation is rescheduled - we don't install damaged equipment.
After the crew leaves
Before the crew leaves, expect:
- A working system tested in both heating and cooling modes
- Thermostat programmed and explained
- Old equipment removed from the property
- Work area cleaned up (construction-level, not detail-clean)
- Rebate paperwork completed and submitted (Xcel, HEAR, Colorado state credit)
- Permit pulled and inspection scheduled - we coordinate this, you don't need to
The permit inspection happens within a few days of installation. An inspector from your municipality visits and verifies the installation meets code. You don't need to be present, but it helps. We handle any follow-up items the inspection identifies.
For the first week, run the system in both modes - heat and cool - to confirm everything operates as expected. If anything sounds off or doesn't respond as the thermostat walkthrough described, call us. Most post-install issues are thermostat settings, not equipment problems.